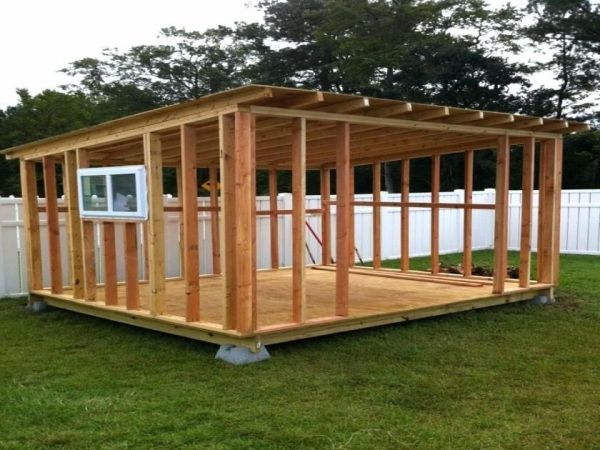
 Use L brackets to keep the stringers in place. Sliding doors are easier to install and they glide completely out of way. This is best accomplished using gussett plates made from half inch plywood or OSB material. Once you have created sketch it’s time to buy your supplies. Wire mesh also makes the enclosure easier to clean. A utility shed can be a hobby room for amateur painters or keen gardeners. The floorboards are secured with screws and installed under walls to the edge of the shed. Measure and cut 2×4s and install on the side wall between (https://shedconstructionplans.com/gable-shed-plans-list) rafters. Mark where each edge brace will go and pre-drill holes before attaching with screws. Nail roofing to building wall and overlap to deflect water down the roof. Laying out a square footprint and making side beams parallel with the ridge beam makes cutting rafters so much easier at this stage. Do you need something simple and utilitarian, or do you want something decorative? There are many different styles and sizes out there. Your wallet will surely thank you if you decide to construct the storage shed on your own. For lower long point on the gable plate, mark the pitch angle on one end using rafter jig. To prevent differential movement between planks ensure that you have some sort of support along the panel edges. Trim excess at top and bottom with circular saw, and check for square again. Apply at least two coats, especially if you choose a light shade. You would probably get many ideas about the color, shape and design for (recommended reading) you shed. Be sure that you look at the edge of 2x10 so that you know which side to put on the top. After erecting walls and roof, you fit windows, door and any trim you might have. The posts must be fixed in concrete in holes that are at least 2 feet in depth. Metal flashing is metal bent to overlap a straight wall and a sloped roof. The steeper the pitch of roof, the harder it is to put shingles on. Some regulations limit the number of external buildings. The concrete wedge anchors secure the ledger to wall. The face stays in plane with barge rafter and bottom edge lines up with blocking for the soffit. The door could be fairly basic or costly according to your need and use of the shed. Hip roofs generally have consistent fascia from all directions and so it becomes easy to install gutters. A pair of trenches filled with gravel and topped with treated 6x6s is adequate in areas with well-drained soil. Square a level line from outside face of frieze and mark 10 inches out from there. Measure and mark each to length based on the overall measurement of the girders. Then do same thing at the top of the walls, and finally when you set the roof trusses or ridge. Nail on three layers of fascia panels flush with roof sheathing. Fasten the rafter plate to the wall studs with lag screws. Acrylic-latex paint can withstand weather conditions and works well for wood utility shed exteriors. Position square with both the 8 inch on the outside edge of the tongue and the 12 inch on the blade on upper edge of board Painting shed floor helps protect and seal the wood, it reduces splinters, makes it easier to clean, and it looks so much better. Each window and door of your wooden storage shed should have a 2×4 frame all the way around. Assemble side walls from 2×4 lumber. You should use not only a top coat of paint but also a primer. You can set your foundation directly on leveled ground. Risers protect exposed endgrain of the notched stringers from weather. The roof is designed to keep rain away from the door. You will need to dig your ramp into the ground so that it's flush with storage outbuilding entrance. Install roofing felt, drip edge, and shingles. Awning windows create a simple way to generate air flow in your space and maintain a clean and safe atmosphere. Use a basic butt-joined flush edge box casing for windows and doors. Bear in mind your timbers should be inside lines created by the stakes you have driven into ground. |
Photo used under Creative Commons from enneafive
